Flume学习记录
发表于|更新于|技能学习
|总字数:1.1k|阅读时长:5分钟|浏览量:
1.Flume的下载与安装
本次学习在Ubuntu的Linux操作系统下进行,首先进入Ubuntu,输入指令
1 | wget https://archive.apache.org/dist/flume/1.9.0/apache-flume-1.9.0-bin.tar.gz |
下载完成后,在目录下输入指令进行解压
1 | tar -zxvf 压缩包的名称 |
2.netcat日志采集
2.1 配置文件
进入目录下的conf文件中,创建example.conf文件,输入以下内容:
1 | ## 设置Agent上的各个组件名称 |
2.2启动测试
输入完成后,回到Flume的根目录下,输入
1 | ./bin/flume-ng agent --conf ./conf --conf-file ./conf/example.conf --name a1 -Dflume.root.logger=INFO,console |
如果是Windows操作系统,则可能是
1 | .\bin\flume-ng agent --conf .\conf --conf-file .\conf\example.conf --name a1 -property flume.root.logger=INFO,console |
确保telnet在主机上启用后,输入
1 | telnet localhost 端口号 |
敲下回车键,如果终端显示‘OK’,则说明telnet上了,这时候输入任意字符,终端上就会显示消息,则说明测试完成。
3.采集文件数据到指定位置
3.1 配置文件
回到conf目录下,新建example1.conf文件,配置以下信息,别忘了改路径
1 | ## 设置Agent上的各个组件名称 |
3.2启动测试
输入之前的指令(别忘了改conf的名字),启动Flume,然后telnet端口,随便输入一些消息,然后退出,就看看到之前输入的地址下面有一个文件,打开文件,内容就是刚才输入的信息,测试成功。
4.采集文件数据到指定位置(静态)
4.1配置文件
和上述一样,创建example2.conf,输入以下配置信息(注意spoolDir必须是目录,不是文件)
1 | #配置Agent上的各个组件名称 |
4.2启动测试
启动Flume,在配置中的目录下进行操作,如创建文件、删除文件等,都可以在终端上看到消息,测试成功。
5.采集文件数据到指定位置(动态)
5.1 配置文件
配置example3.conf,输入以下内容:
1 | ## Name the components on this agent |
5.2启动测试
测试步骤如上
6.基于Avro多Agent分布式日志采集
6.1 Agent1
创建 Agent1.conf文件,输入以下内容:
1 | ## 设置Agent1上采集telnet数据 |
输入指令启动
1 | ./bin/flume-ng agent --conf ./conf --conf-file ./conf/Agent1.conf --name a1 |
6.2 Agent2
输入以下内容:
1 | ## 设置Agent2上的各个组件名称 |
然后输入指令启动(这和Agent1有所区别,因为Agent2要显示Agent1的内容)
1 | ./bin/flume-ng agent --conf ./conf --conf-file ./conf/Agent2.conf --name a1 -Dflume.root.logger=INFO,console |
文章作者: Ldyer
版权声明: 转载前请认真阅读本站 版权协议,文章采用 CC BY-NC-SA 4.0 许可协议
🧧赞助
 微信打赏
微信打赏 支付宝打赏
支付宝打赏
相关推荐

2024-01-04
Flink学习笔记
一、Flink的安装与配置 1.1 Flink的下载 到清华镜像源选择合适的版本 进入目录 1cd ~/software 下载 1wget https://mirrors.tuna.tsinghua.edu.cn/apache/flink/flink-1.17.2/flink-1.17.2-bin-scala_2.12.tgz 解压 1tar -zxvf flink-1.17.2-bin-scala_2.12.tgz 二、Flink的集群配置 2.1 flink-conf.yaml文件配置 打开Flink/conf/flink-conf.yaml文件 1vim ~/software/flink-1.17.2/conf/flink-conf.yaml 配置以下内容 12345678910111213141516171819202122232425jobmanager: bind-host: 0.0.0.0 rpc: address: Node01 port: 6123 memory: process: size: 1600m exe...
2025-01-01
复制栏
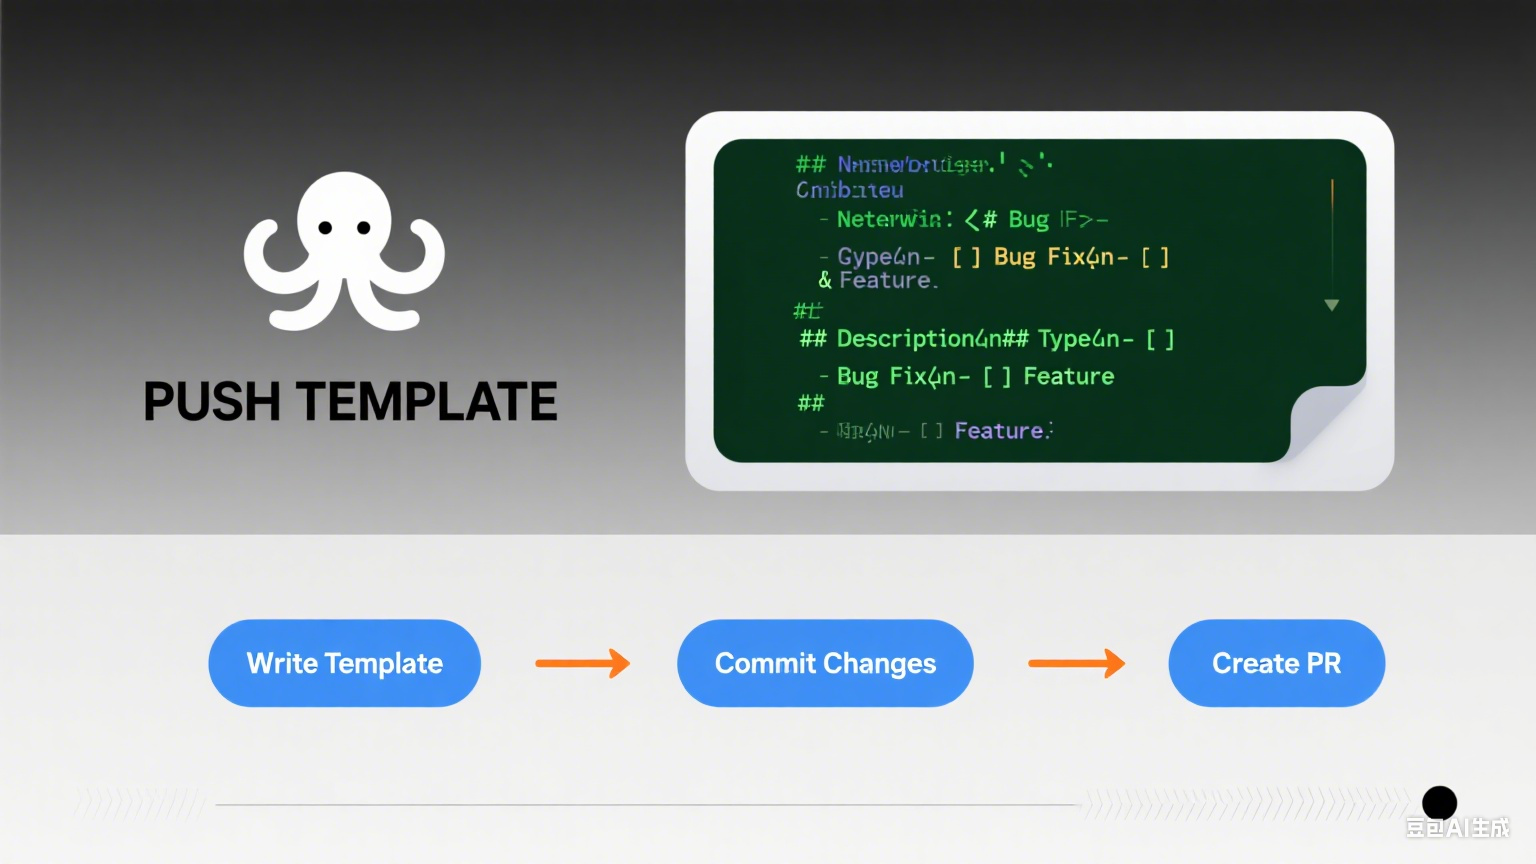
Github 推送复制模版 在 GitHub 新建空仓库 登录 GitHub → New repository → 取一个名字,如 myproject → 直接点击 Create repository,(不要勾选 README、License)。页面会给出两段提示,保留备用。 进入本地项目目录并初始化 1cd /path/to/myproject 初始化本地仓库、把当前目录所有文件加入暂存区、提交到本地仓库 1git init 1git add . 1git commit -m "first commit" 关联远程并推送 将下面命令中的 YOUR_USERNAME 和 myproject 换成自己的。 把默认分支重命名为 main(GitHub 默认) 1git branch -M main 1git remote add origin url 1git push -u origin main 后续的推送 拉取并自动尝试合并 1git pull origin main 如无冲突,直接 1git...

2023-12-10
Hadoop基础理论问题
建议电脑端阅读 这是手机阅读教程 公告 1、集群部署规划主要修改那几个配置文件? core-site.xml:指定NameNode的地址、指定Hadoop的存储目录、配置HDFS网页登录的静态用户名 hdfs-site.xml: nn Web访问地址、2nn Web访问地址 yarn-site.xml: 指定shuffle、指定ResourceManager的地址、继承环境变量 mapred-site.xml: 指定MapReduce程序运行在Yarn上、历史服务器端地址、历史服务器web端地址 2、集群部署规划有哪些注意事项? NameNode和SecondaryNameNode不要安装在同一台服务器 ResourceManager也很消耗内存,不要和NameNode、SecondaryNameNode配置在同一台机器上。 3、集群配置常见错误及解决方案有哪些? 1)防火墙没关闭、或者没有启动YARN INFO client.RMProxy: Connecting to ResourceManager at hadoop108/192.168.10.108:8032 2)...
2023-10-10
Hadoop安装步骤
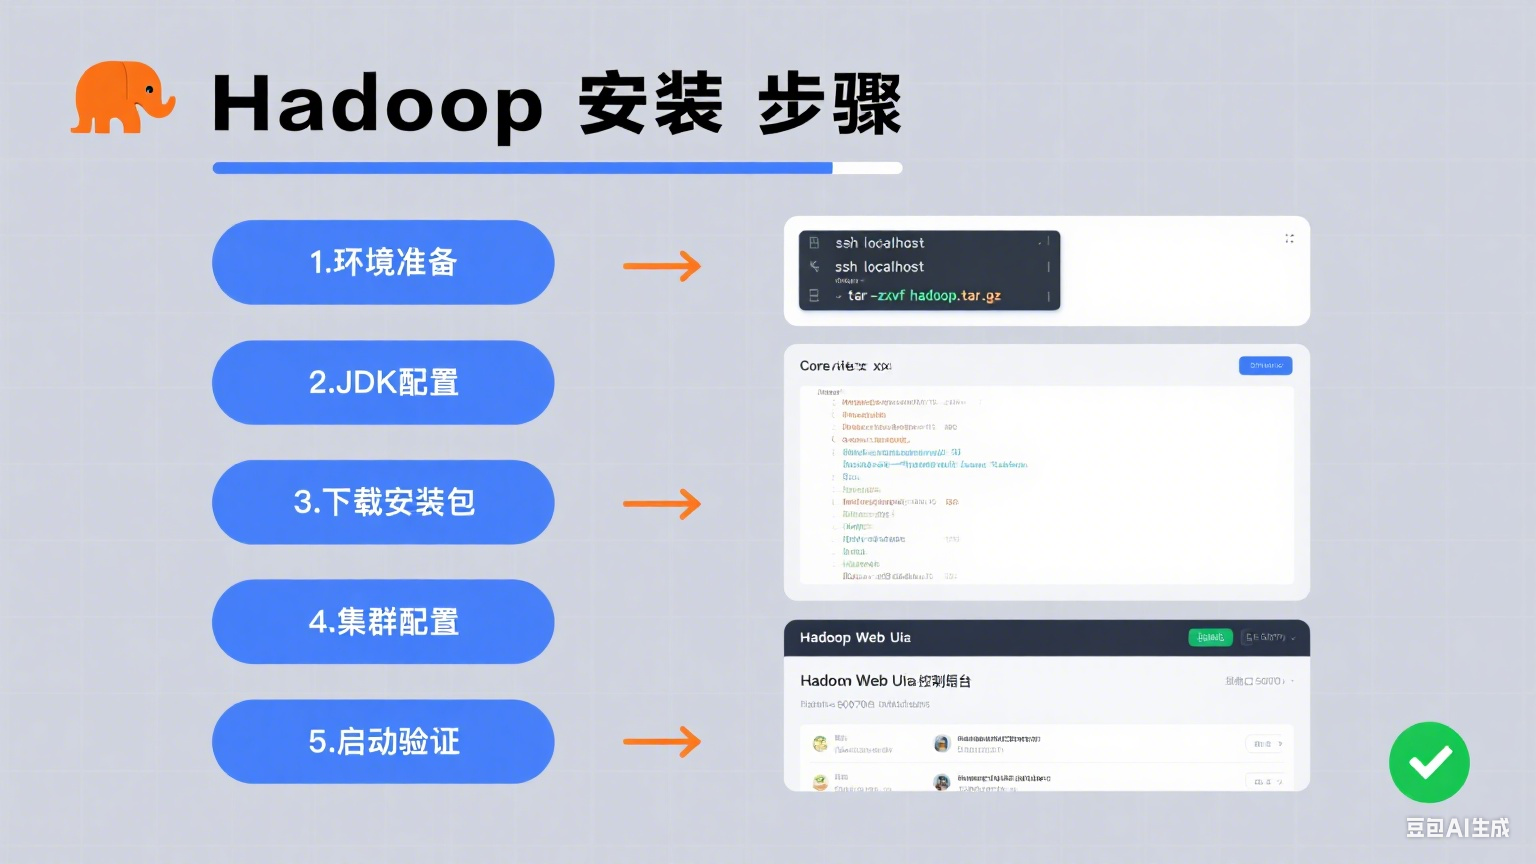
1. 前期准备 1.1 安装Ubuntu 在VM导入Ubuntu的镜像源 1.2 导入必要的包 因为新安装的Ubuntu缺少很多组件,在这里先安装必要的包 1、更新软件源 1sudo apt-get update 2、安装Vim 1sudo apt-get install vim 3、安装ssh 123sudo apt-get install openssh-clientsudo apt-get install openssh-serversudo /etc/init.d/ssh restart 4、安装git 1sudo apt-get install git 5、安装zlib 123sudo apt-get install zlib1g-devsudo apt-get install libx32z1-devsudo apt-get install lib32z1 6、安装网络工具 1sudo apt install net-tools 1.3 配置网络 首先输入,查看目前的Gateway 1route -n 输入(Ubuntu22版本) 1sudo vim /etc/n...
2024-12-29
Hbase学习笔记
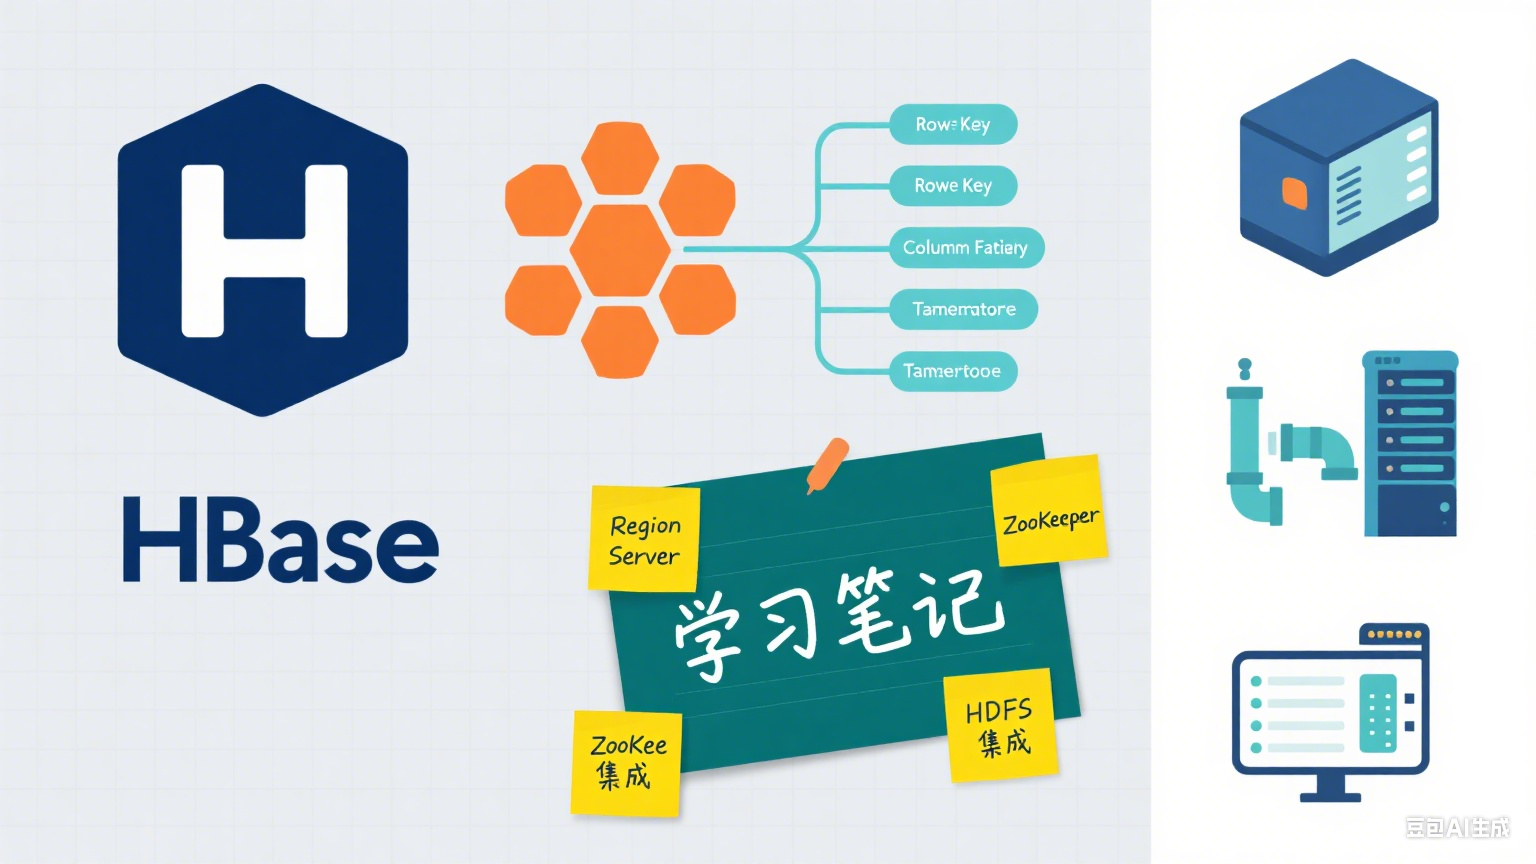
一、HBase 简介 HBase 是一个分布式、可扩展的列式存储数据库,基于 Google 的 Bigtable 设计构建。它是 Hadoop 生态系统的一部分,主要用于处理海量的结构化数据。与传统的关系型数据库不同,HBase 采用列存储而不是行存储,这使得它非常适合处理大量的稀疏数据,并且支持快速随机访问。 1.1 HBase 的特点: 分布式架构:HBase 运行在集群模式下,数据被分布在多个节点上,实现了高可用性和容错能力。 横向扩展性:可以根据需求增加节点,扩展存储和计算能力。 列式存储:数据按照列而非行进行存储,这对某些特定应用(如大规模分析、实时数据访问)非常有利。 高并发写入:适合高吞吐量的数据写入和实时数据处理。 无模式(Schema-less):在 HBase 中,不同的行可以有不同的列,可以灵活地存储结构化或半结构化数据。 1.2 HBase 的用途: 大数据存储:当需要存储大量的数据并能够进行高效的快速查询时,HBase 是理想的选择。例如,可以用于存储日志数据、传感器数据、社交媒体数据等。 实时数据分析:HBase 支持快速的随机读写,适合需要实时...

2024-04-13
Json数据的抓取和分析
1.关键库及函数 (1)关键库 12345import urllib.requestimport urllib.errorimport urllib.parseimport requestsimport json (2)关键函数 通过url 获取信息:requests.get(GET模式)/request.post(POST模式) 结果转化为python的json对象:json.loads( ) Json对象的格式化输出:json.dumps(json对象, sort_keys=True, indent=2) 文件读写: 1234with open("data.txt","w") as f: f.writelines(data) 格式化输出:"{0:^6}{1:^10}{2:^10}{3}".format('序号','歌曲名','唱片集','播放连接&#...
💬评论